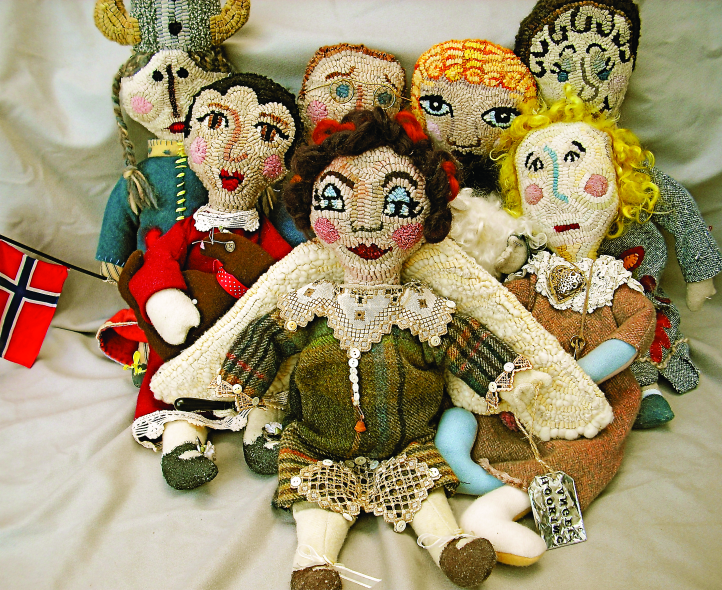
Michele Wise’s group of hooked angels are ready to watch over her as she hooks.
Imagination and a basic pattern are all you need to create a hooked doll. This article will lead you through the process of hooking a head and wings, and constructing the body and dress for a hooking angel.
This pattern is for one-time personal use only. Reselling of the pattern is prohibited.
MATERIALS
All seams 1/4″
18″ x 28″ monk’s cloth
12″ x 20″ natural wool for body
10″ x 15″ plaid wool for dress
Brown acrylic paint
School glue
Small pieces of wool for face
Buttonhole thread and long needle
Polyester filling
Wooden chopstick
Roving for hair
Freezer paper
Sand, bird gravel, or doll pellets and 2 sealable sandwich bags
Embellishments, such as buttons, lace, and ribbon
Plastic mesh

Transfer the Pattern
Copy the outline of the head twice on foundation cloth. I use monk’s cloth when working with three-dimensional objects because it is soft for sewing and drapes well. Transfer the facial features to one head outline. On the other head outline, design the shape and length of the hair. The hair can include curls, braids, or straight locks.
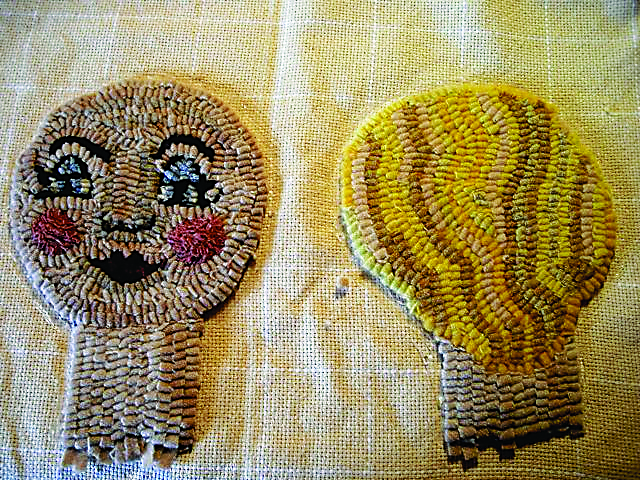
Hook the Head
To hook the face, I used two shades of mottled #6-cut wool. I hooked the darkest part of the wool around her face and under her chin and mouth. The lightest colored strips went down the middle portion of her nose and between her eyelid and brow.
I outlined her eyelids, created lashes, and filled the pupils with a
#4-cut black wool. The blue eye shadow and eyes were also a #4 cut. I outlined the bottom of her nose in a medium brown with a #4 cut.
The red lips were also #4. If you want more contour, add a little lighter red on the middle of her lower lip. (I didn’t because my doll insists on wearing her 16-hour lipstick.)
Sculpt her cheeks with a #4 medium pink wool, pulling the loops high and tight in each hole, cutting the loops, and then trimming them to form those chiseled cheeks. Hook all the facial details before you hook the main part of the face. Hook the neck vertically.
Hook the front and the back of the head individually, then join them together.
Hooking the Wings
Cut out the template for the wings and place it on monk’s cloth, drawing around it with a black pen. I drew in some curves for variety. Outline the wings in #7-cut wool. Follow the curves using natural wool and bulky wool yarn. This makes the wings look softer. This doll’s wings are large because she has a heavy bottom (more about that later).
Preparation for Stuffing
After the hooking is completed and the piece is still on the frame, run school glue around the edges about 3/4″ out from the hooked edge to pre vent fraying. Allow the glue to dry, then steam press everything before cutting out the pieces. Remember to leave that 3/4″ allowance when cut-ting and to clip the curves where needed.
Line up the head pieces, wrong sides together, with the allowances folded inside. Hand stitch between the loops with doubled buttonhole thread, pulling tightly so no foundation is showing. (I do this step right side out so I can see what the finished head will look like.)
Use polyester filling to stuff the head. I hooked the back of the head with medium length blond hair. On the front of the doll I added some dark purple and rust roving highlights around her face to enhance her delicate features.
Sewing the Body
Next, cut out and sew the body together. Trace the pattern onto the dull side of a sheet of freezer paper. Cut the traced piece out and iron it, shiny side down, onto a folded piece of wool. It will adhere temporarily, and you can reuse the patterns for all the pieces to be cut. Cut four arms and legs and two bodies. Using 1/4″ seam allowance, sew up the body sides, leaving the designated open-ings for the arms and neck.

Sew the body together, using short sewn lines to indicate elbows, knees, and fingers.
Sew the arms, leaving the ends open. Do the same with the legs. On the arms, sew three short lines to indicate fingers. Stuff the arms and legs halfway, then sew a line across the arms to indicate elbows.
When sewing the legs, keep the ends open. Stuff half of each leg, then sew a line across the leg with the foot pointing up. Do not fill the rest of the arms and legs: this gives more flexibility to pose the finished doll.
Attach the arms and legs to the body where indicated by turning under the edge of the wool on the body and slip stitching the pieces in place. To stuff the body, put sand
(or bird gravel or doll pellets) into doubled sandwich bags that zip closed. Put the sand in the rear to help the doll sit, then stuff the rest of the body tightly with polyester filling. My angel ended up with a heavy rear; thus, the need for big wings.
Attach the Head to the Body
With both the body and head stuffed, place a wooden chopstick down the neck, making sure you do not puncture the plastic bag. Stuff around the stick tightly, and push the head into place. Fold over the wool, pin it in place, and sew the neck to the body. The stick makes the neck more secure. Do not make her neck too long.
Dressing the Doll
Cut out the pattern pieces of the dress from freezer paper. Tape the two pieces together where indicated. Place on a fold and cut two: front and back. I matched up my plaids, but it is not necessary. To embellish her dress, I cut up an old hardanger piece, sewed on buttons, and added lace to the sleeves. After embellishing, sew the sides of the dress using 1/4″ seams. Leave a large opening around the neck so you can get the dress over her head. After the dress is on, slipstitch the rest of the neck opening so it fits comfortably.
I filed down a small wooden button hook to form a rug hook and sewed it to the doll with filament thread. Her tag, “Hooking Angel,” was made from tin and an alphabet punch. I attached a piece of jute to the tin and sewed the string to her closed hand. I painted her Mary Janes with a few coats of acrylic brown paint from the craft store. Ribbons and buttons were the final embellishments.
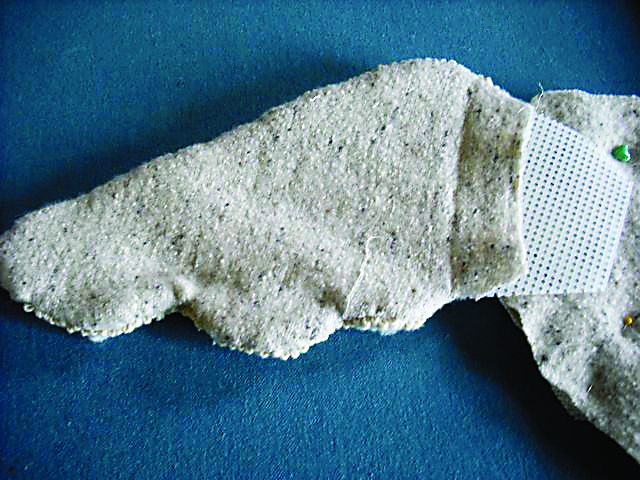
Slip a piece of plastic canvas inside the wing to give it stability.
Finishing the Wings
Use the wing template to cut two pieces of wool. Stitch these to each side of the hooked wing span, leaving the middle open. Next cut two wing pieces out of plastic mesh a little smaller than the wing pat-tern. Slip them into each side of the wings to make them rigid. Slip stitch the middle seam together with folded edges. Attach the wings to the body with a long needle and heavy thread; be sure they are securely fastened.
This quick and easy project gives you endless opportunities for self-expression. Be forewarned: making hooked dolls can be addictive!