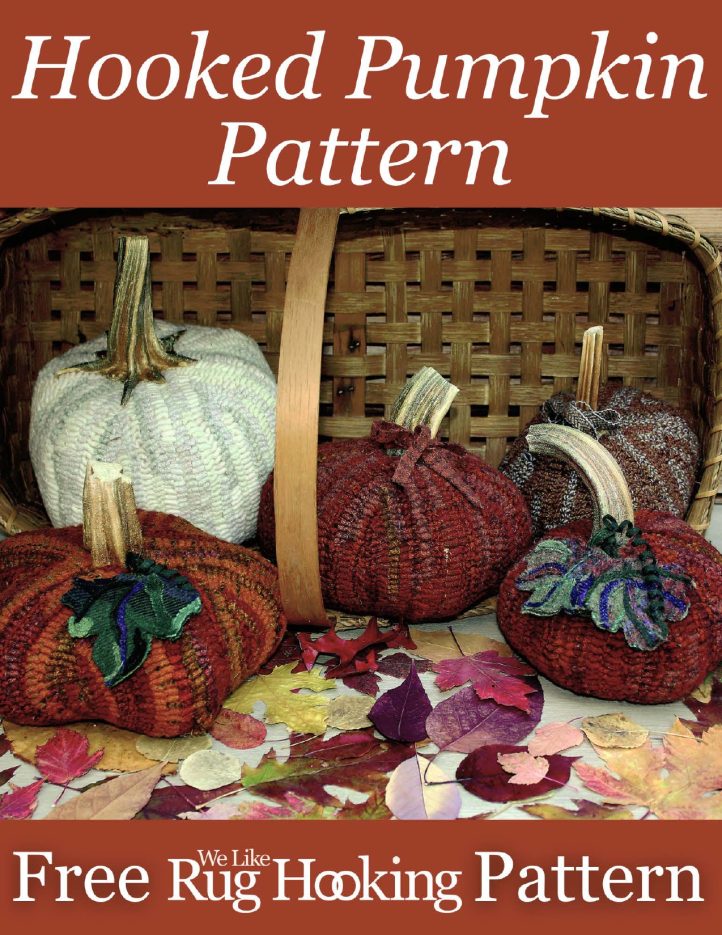
Pumpkin Power
This past autumn I saved the stems from my spent pumpkins and asked several friends to save theirs as well. I’ve always loved pumpkins at Halloween and as a symbol of Thanksgiving and bountiful harvests, and I knew I wanted to hook three-dimensional pumpkins, but I didn’t know the “how to” just yet. I put the stems in my garage to dry over the winter.
I found rug hooking websites with great pumpkins that appeared three dimensional on my computer screen, but I later found them to be flat pillows with fabric on the back. So I decided to repurpose a pattern I had made back in 2005 for quilted fabric pumpkins.
At the 2011 annual Hook-In in Denver, Colorado, I demonstrated “hooked pumpkin making” to an enthusiastic group of hookers. Everyone received written directions and tree branch stems cut from a willow tree in my backyard. My real dried pumpkin stems were in short supply, so tree branch pieces were a logical substitute for real pumpkin stems.
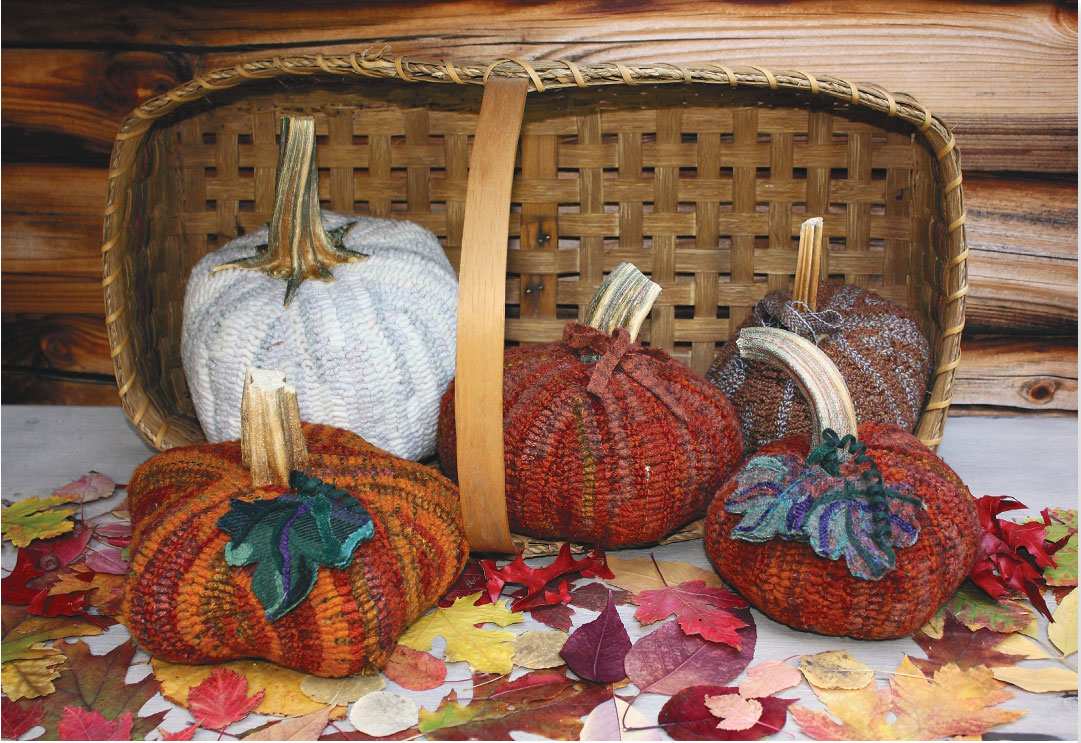
These pumpkins take some time and patience to hook and finish, but the end product is well worth the effort. Your finished pumpkin can be embellished with fabric bows or leaves to decorate a Thanksgiving table. Or design a Halloween pumpkin with a black ribbon bow and plastic spiders.
Remember: Not all pumpkins are orange. One of mine is purple!
Materials
- Heavy-duty thread
- Small eye screw
- Large button
- 2″ needle (or a longer upholstery needle)
- Polyester fiberfill
- Hot glue gun
- Backing of your choice
- #8½- or 9-cut wool strips in various colors
HOLD ON TO THOSE PUMPKIN STEMS
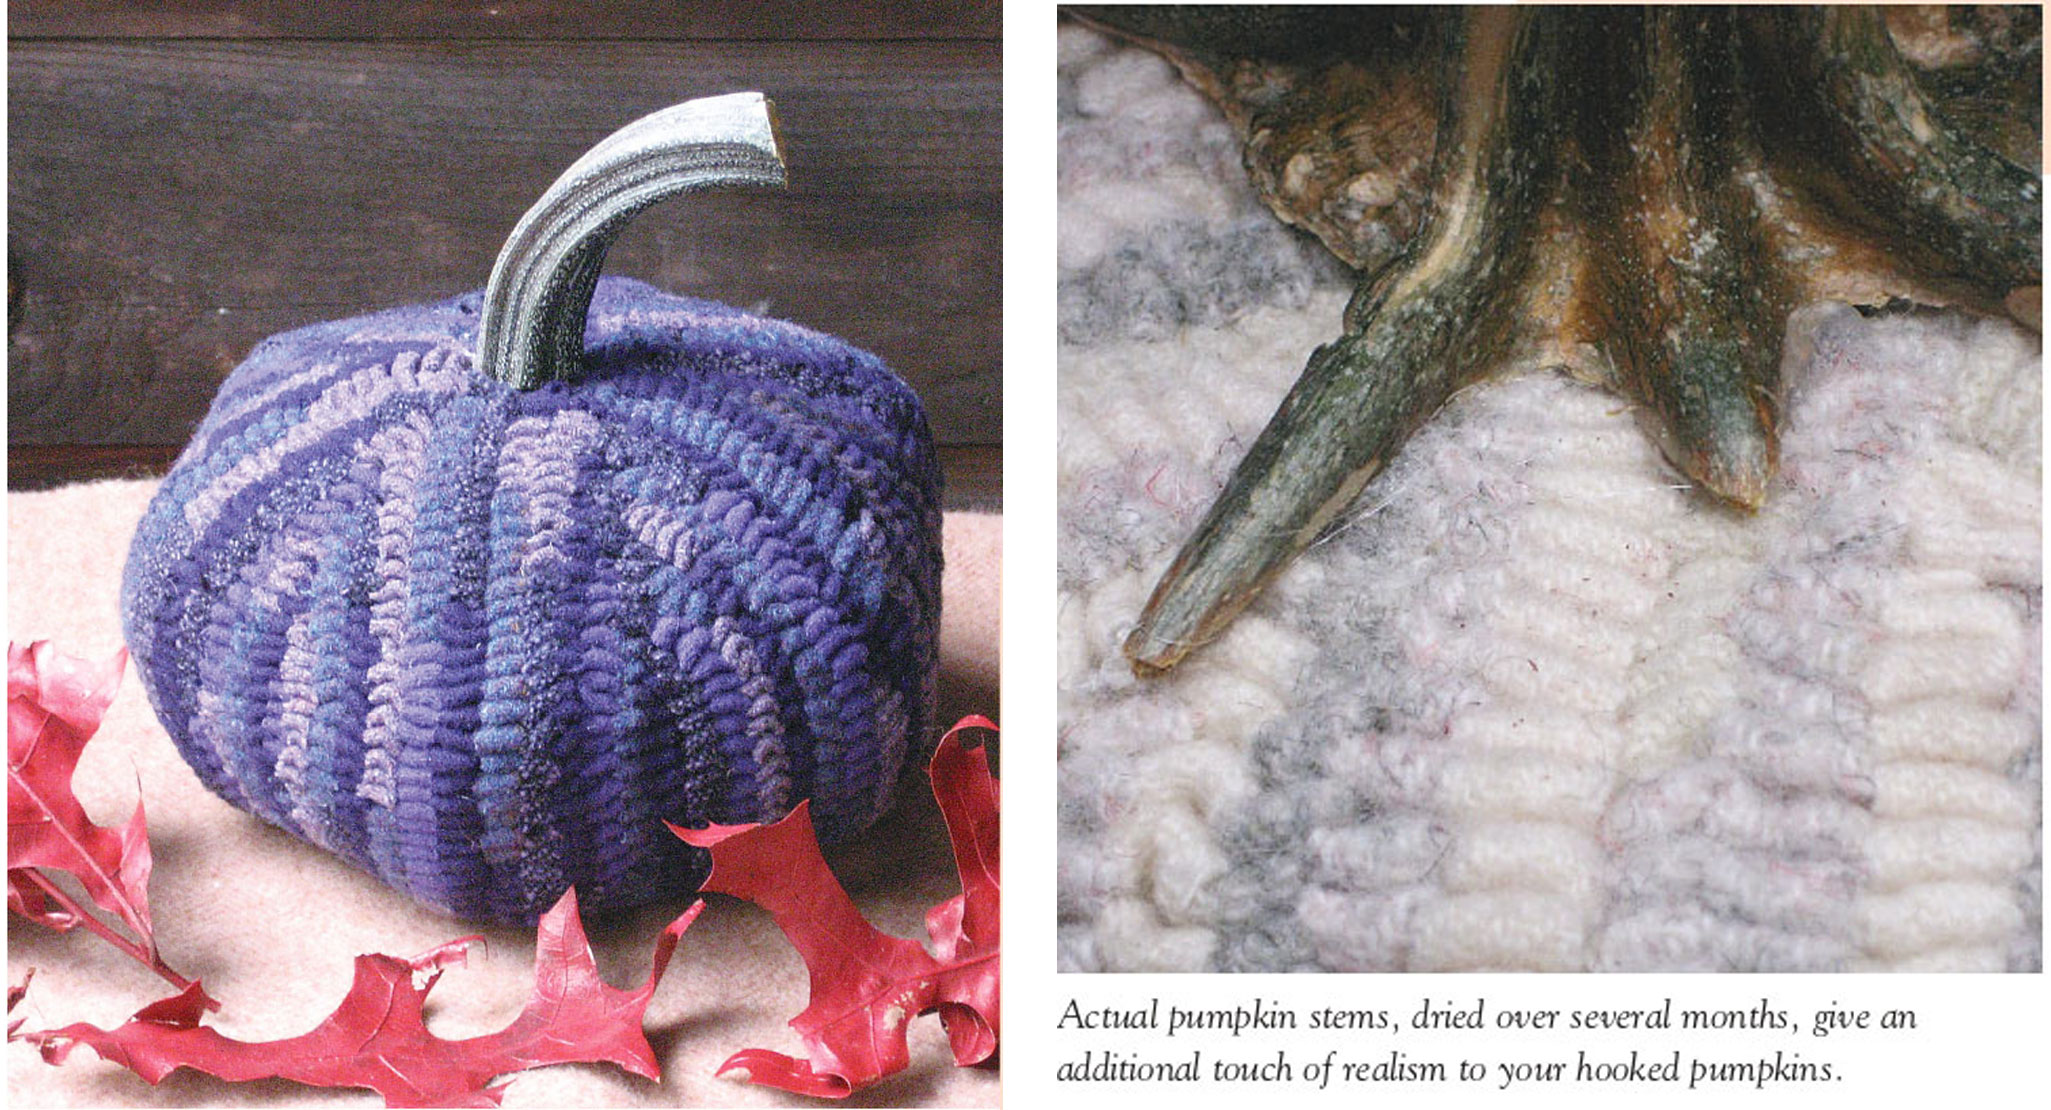
This fall, save the pumpkin stems from your spent pumpkins and ask your friends and neighbors to save theirs as well. Let the stems dry for a couple of months. Dried pumpkin stems are as hard as wood and can be attached to your hooked pumpkins with eye screws. In lieu of real pumpkin stems, try pieces of dried wood.
Instructions
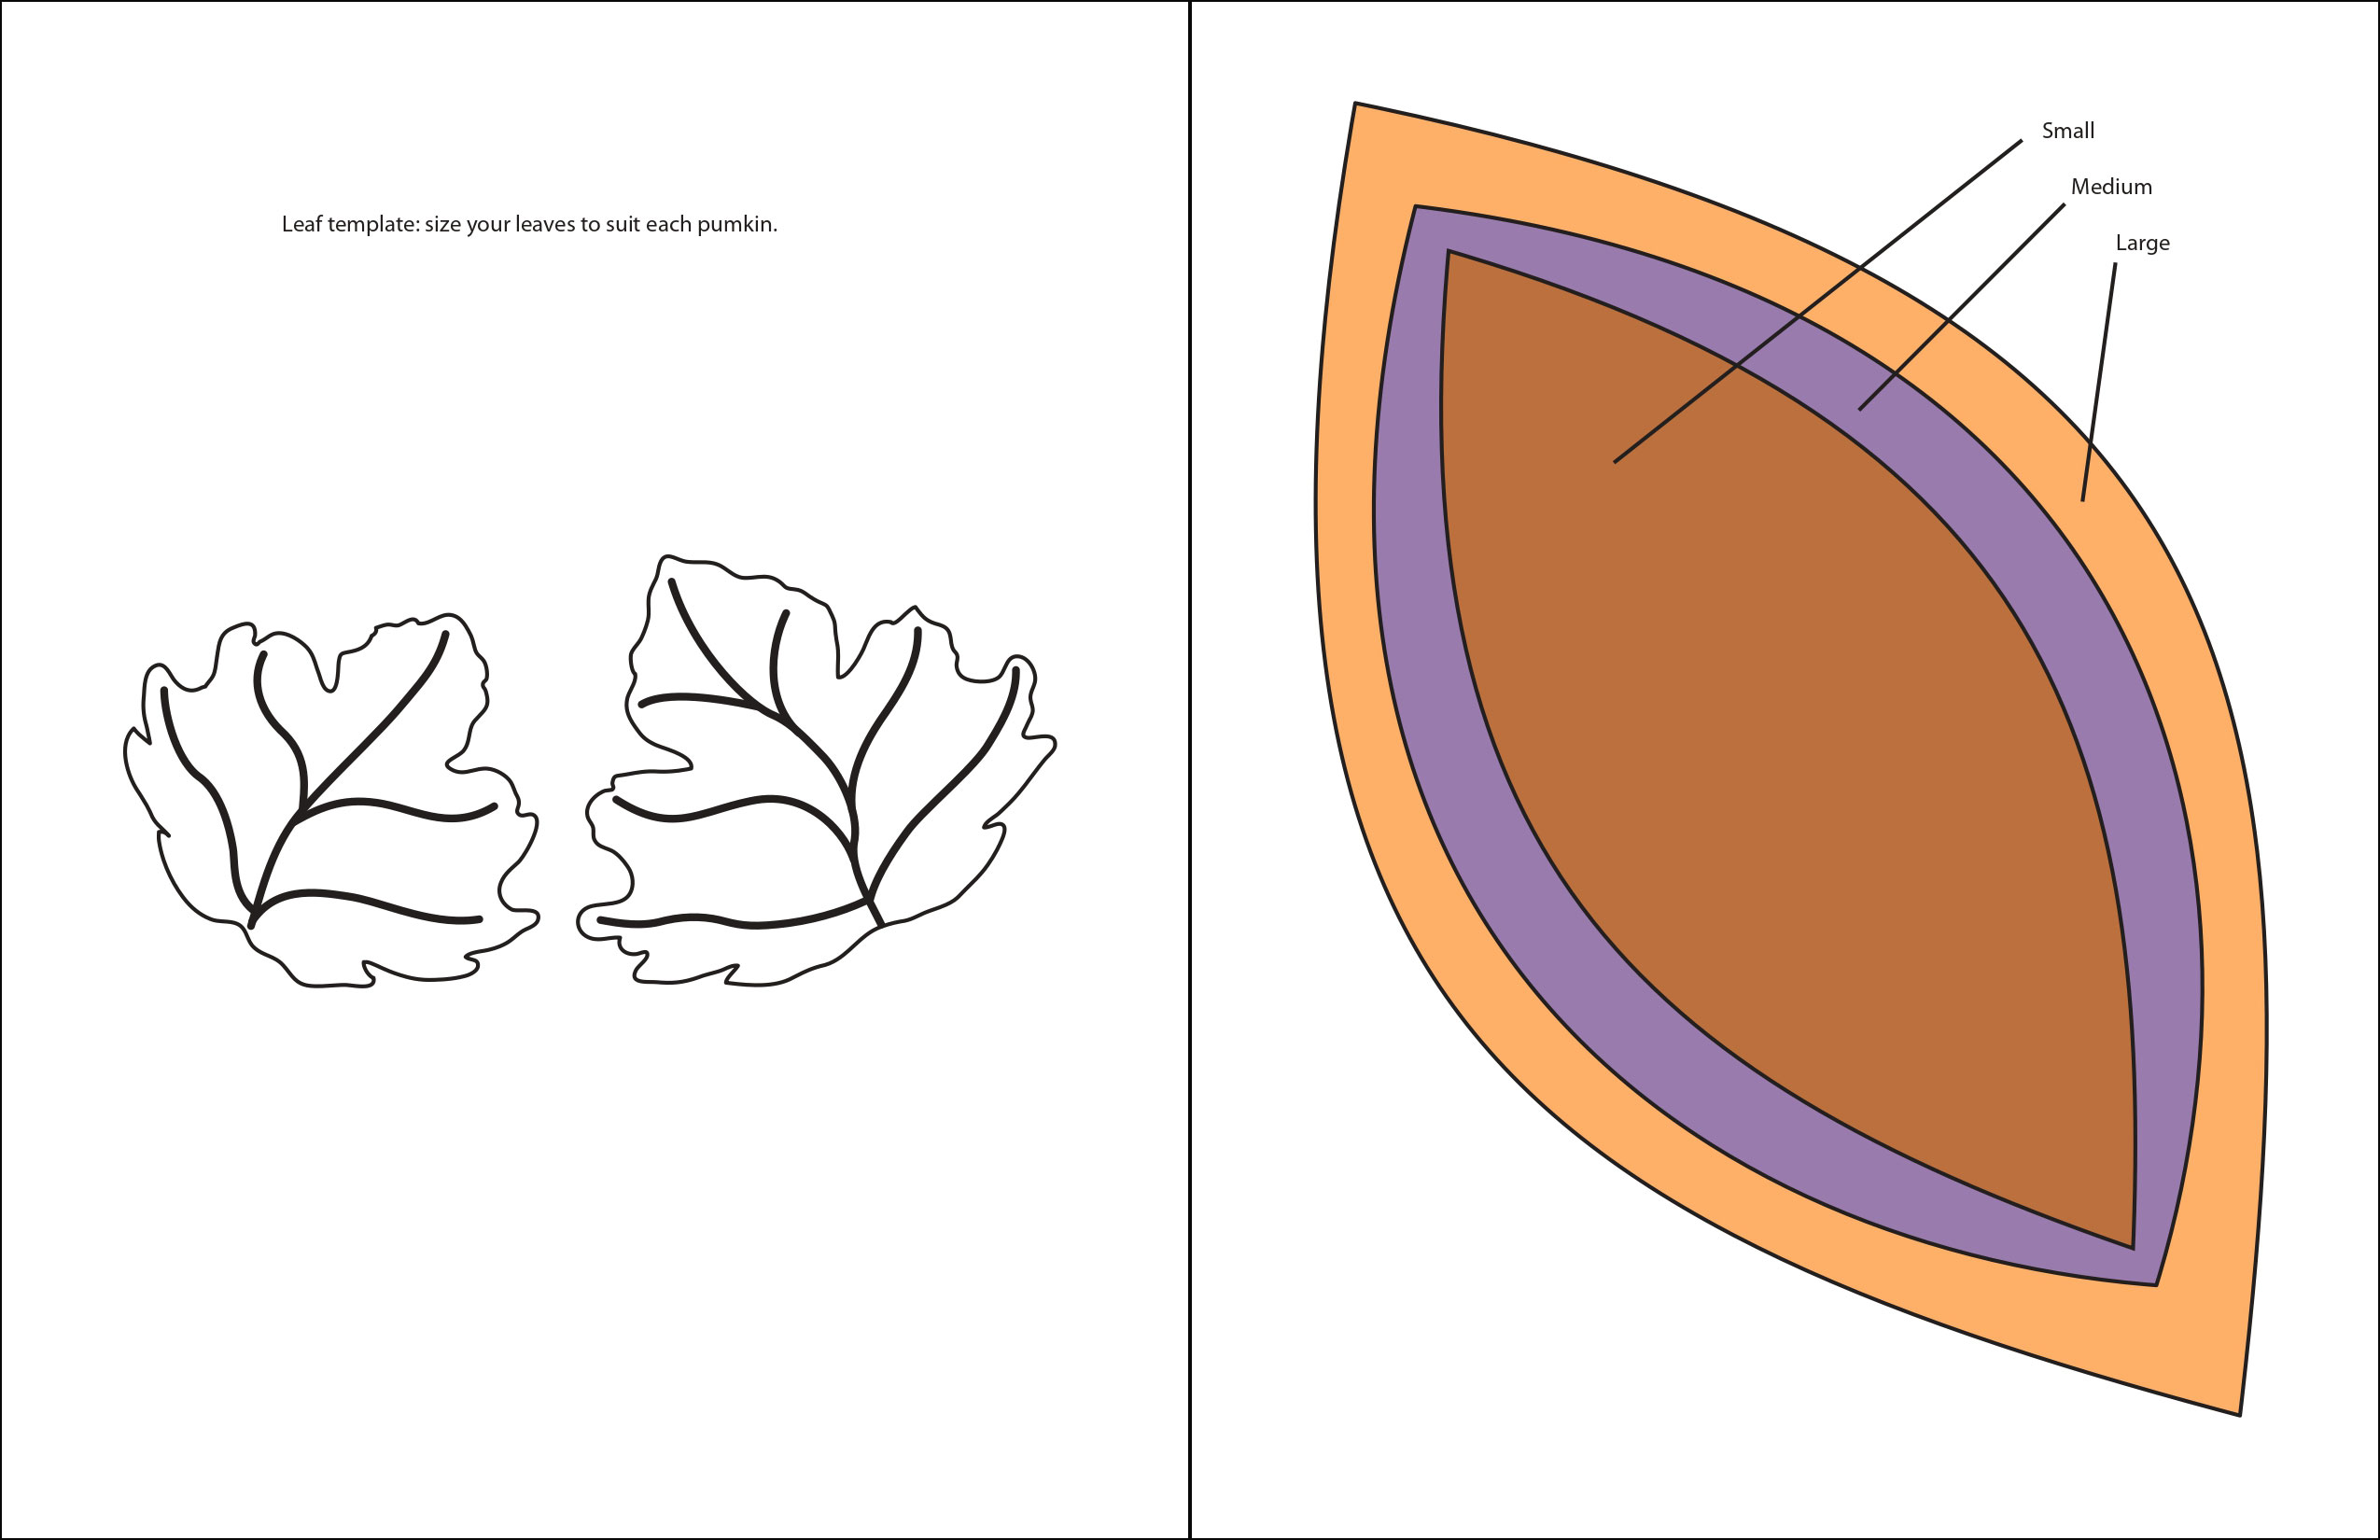
1. Transfer the pattern. Outline 6 “petals” on your backing of choice, leaving 11⁄2″ between petals. Zigzag stitch 1⁄4″ outside each petal so it can be cut out without unraveling the background.
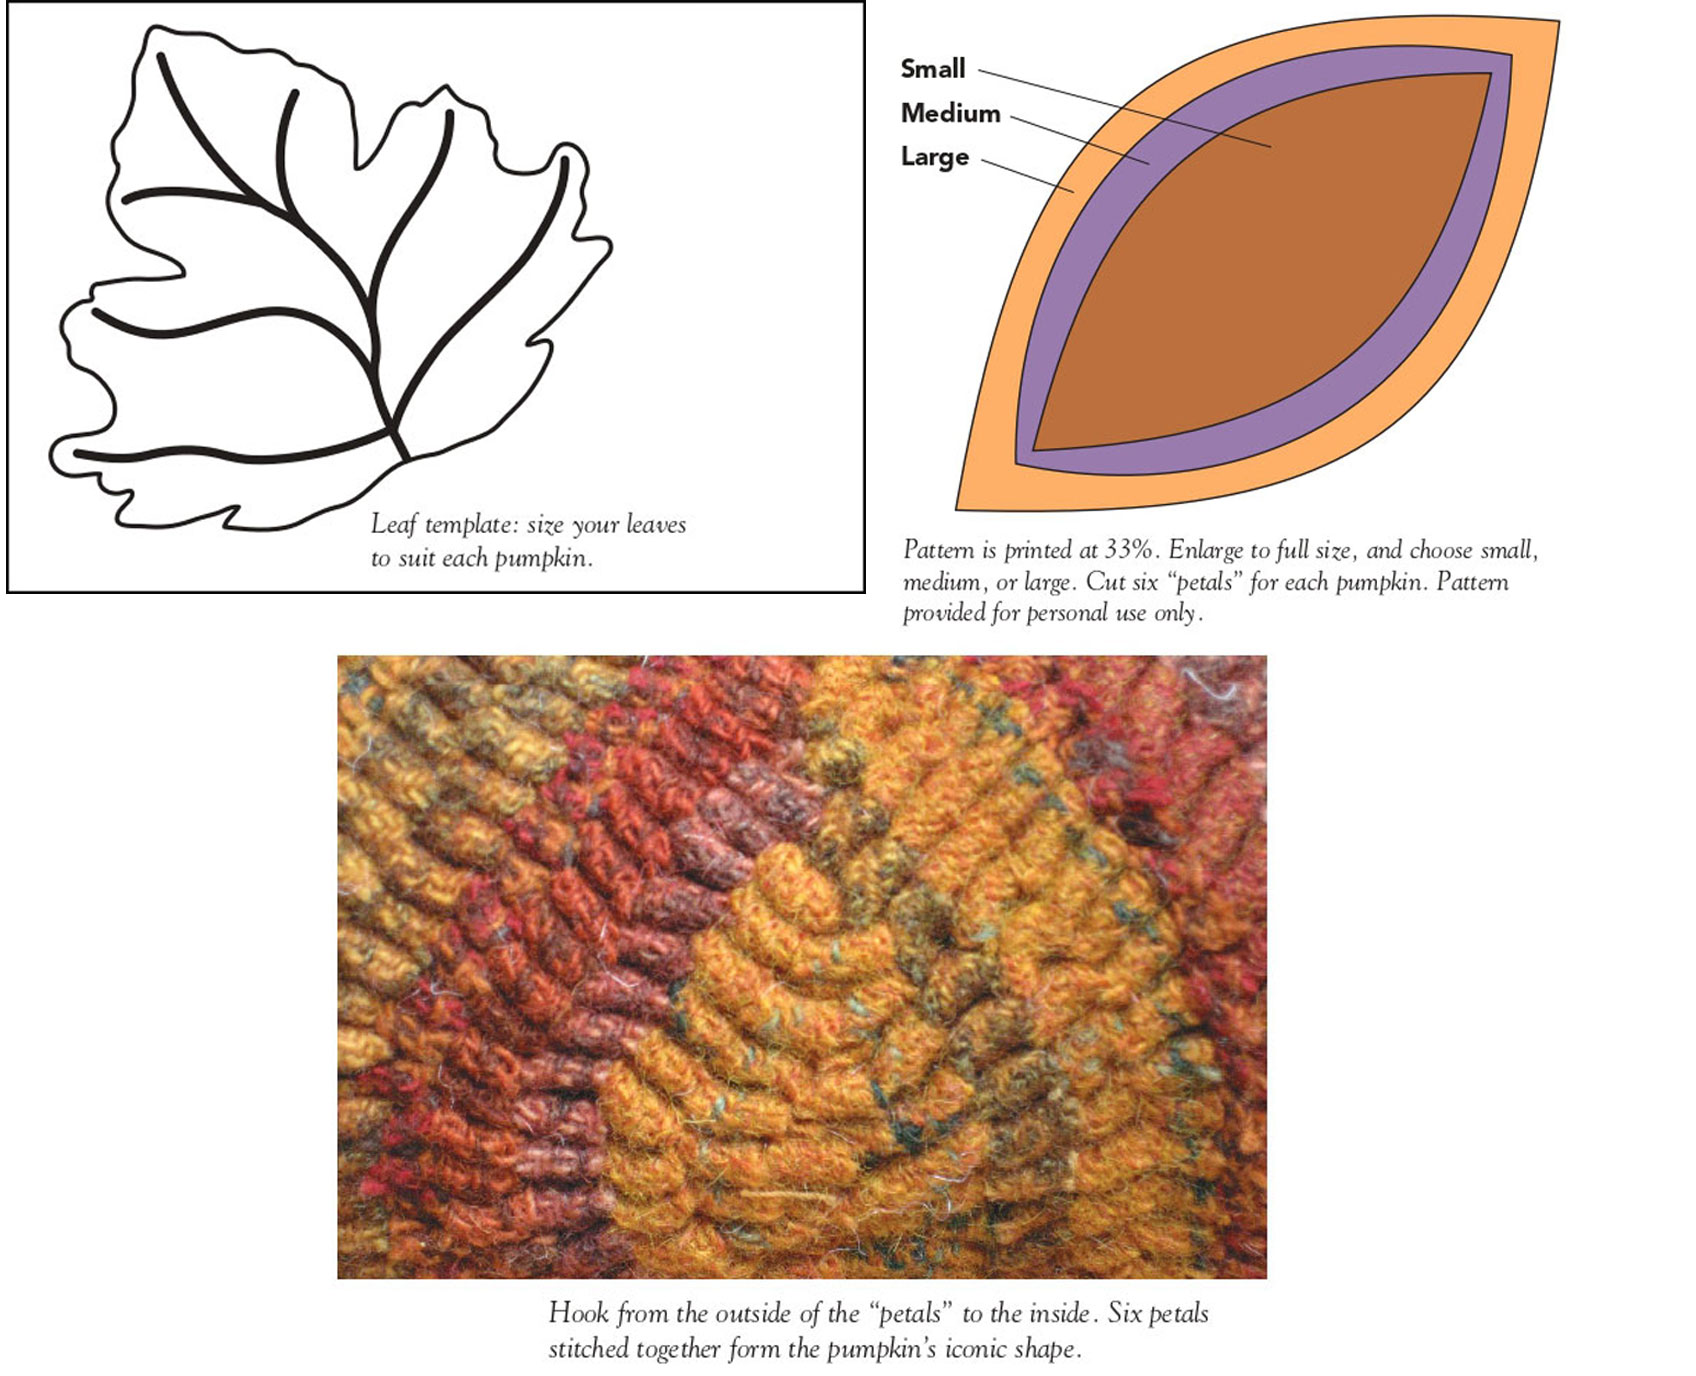
2. Hook the sections. Hook each petal from the outside, starting with a row of outlining and moving in toward the center. I use #81⁄2- or 9-cut wool strips for my pumpkins. Hook all six petals.
3. Check for gaps. When you complete a hooked petal, turn it over and check the back for gaps in your hooking. These petals will be curved on the finished piece, so gaps will expose your backing.
4. Cut out and steam. Cut out each hooked petal out side the zigzag stitching. Steam each petal flat with a wet towel and an iron set on high
5. Sew the sections. Using heavy-duty upholstery thread and a big 2″ needle, sew each petal to another, wrong sides together, matching the curve of the petals. Cast your stitches right up against the outside row of hooked loops without catching a loop. Start stitching from one end and stitch to the center. Tie it off with several knots then stitch from the opposite end of the petal to the center and tie it off.
6. Turn the piece. When you are sewing the last two petals together, only stitch halfway along the edge. Turn the entire piece right side out through that opening.
7. Stuff. Stuff the pumpkin with polyester fiberfill until it is firm. Sew the last half of the petal opening closed. Stitch each end closed, if needed.
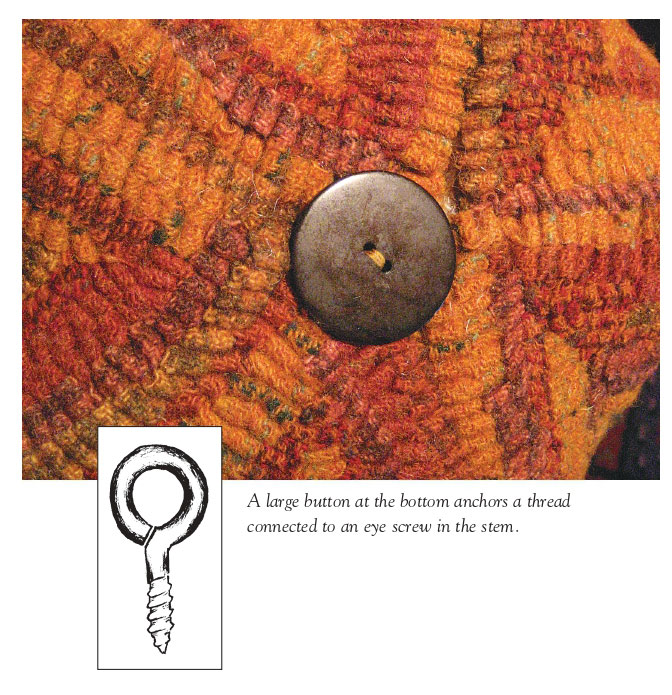
8. Secure the stem. Screw a small eye screw into the bottom of the stem as an anchor. Run a piece of heavy-duty thread from the eye screw through the center of the pumpkin, and tie it off with a decorative button at the bottom of the pumpkin.
9. Add hot glue. Hot glue under the stem around the screw. Press the stem firmly into the pumpkin while the glue sets. The finished stem should be as firm as any handle.
| PUMPKIN LEAVES | |
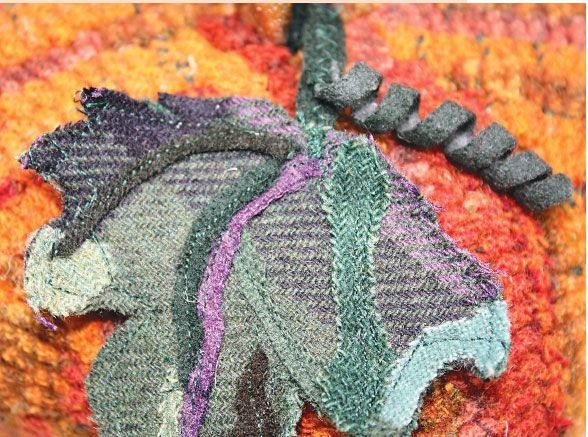
| Add a little more realism to your hooked pumpkin with leaves fashioned from wool.
1. Pin the leaf pattern to two different green wools. Cut out the two fabric leaves. 2. Sandwich the leaves together and machine or hand stitch around the perimeter of the entire leaf. Use scraps of wool to create veins, and stitch veins on the leaves. 3. Stitch wool scraps randomly on the leaves whereverthey may need color. 4. Create leaf stems and vines by stitching togethertwo sandwiched wool strips in green or brown. The vines can be sewn into the tops of the leaves. 5. To make curlicues, use wool strips in #4 or #5 cut. Soak the strips in a fabric stiffener, like Stiffy. Spiral the wet strip around a straw and let it dry overnight. Sew the curlicues to the leaves. |
 |
Mary Ann Goetz began hooking rugs in 1985. She hooks primarily her own designs and loves plaids, tweeds, and over-dyed wools. She always has two or three ideas in her head and not enough time to draw them. She hopes to retire in a few years and teach rug hooking and go to more camps.