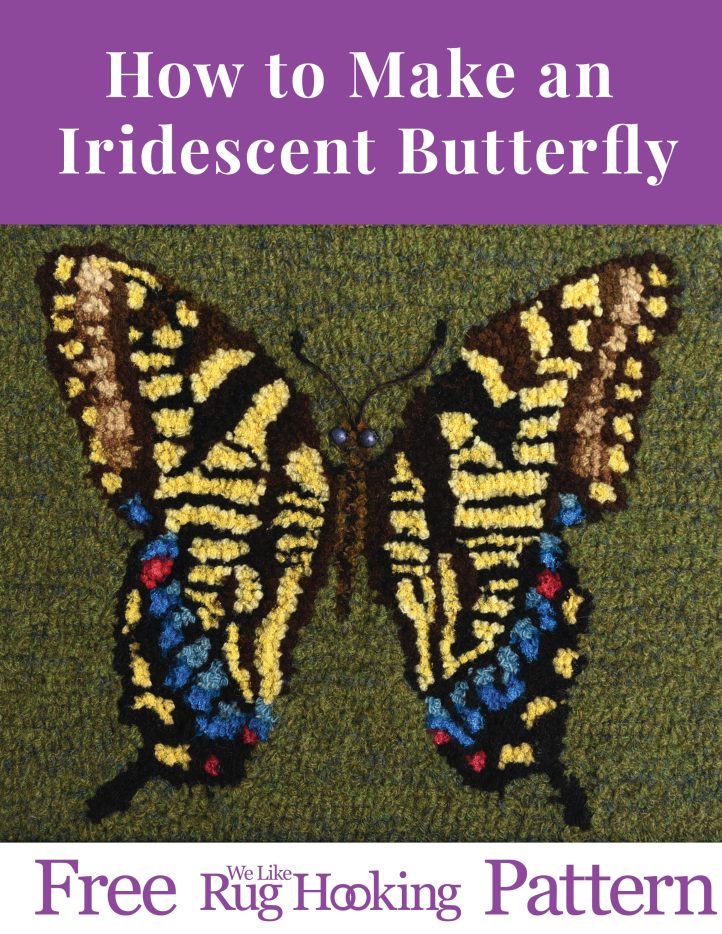
Create Iridescence in Hooked Rugs
May your butterflies glow
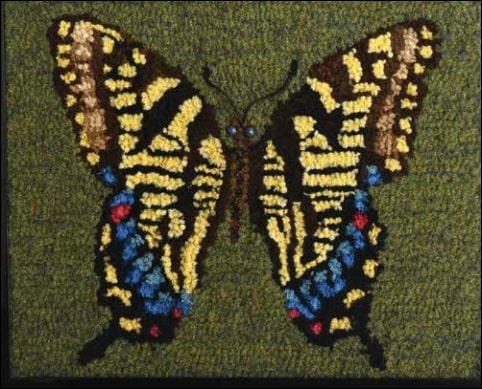
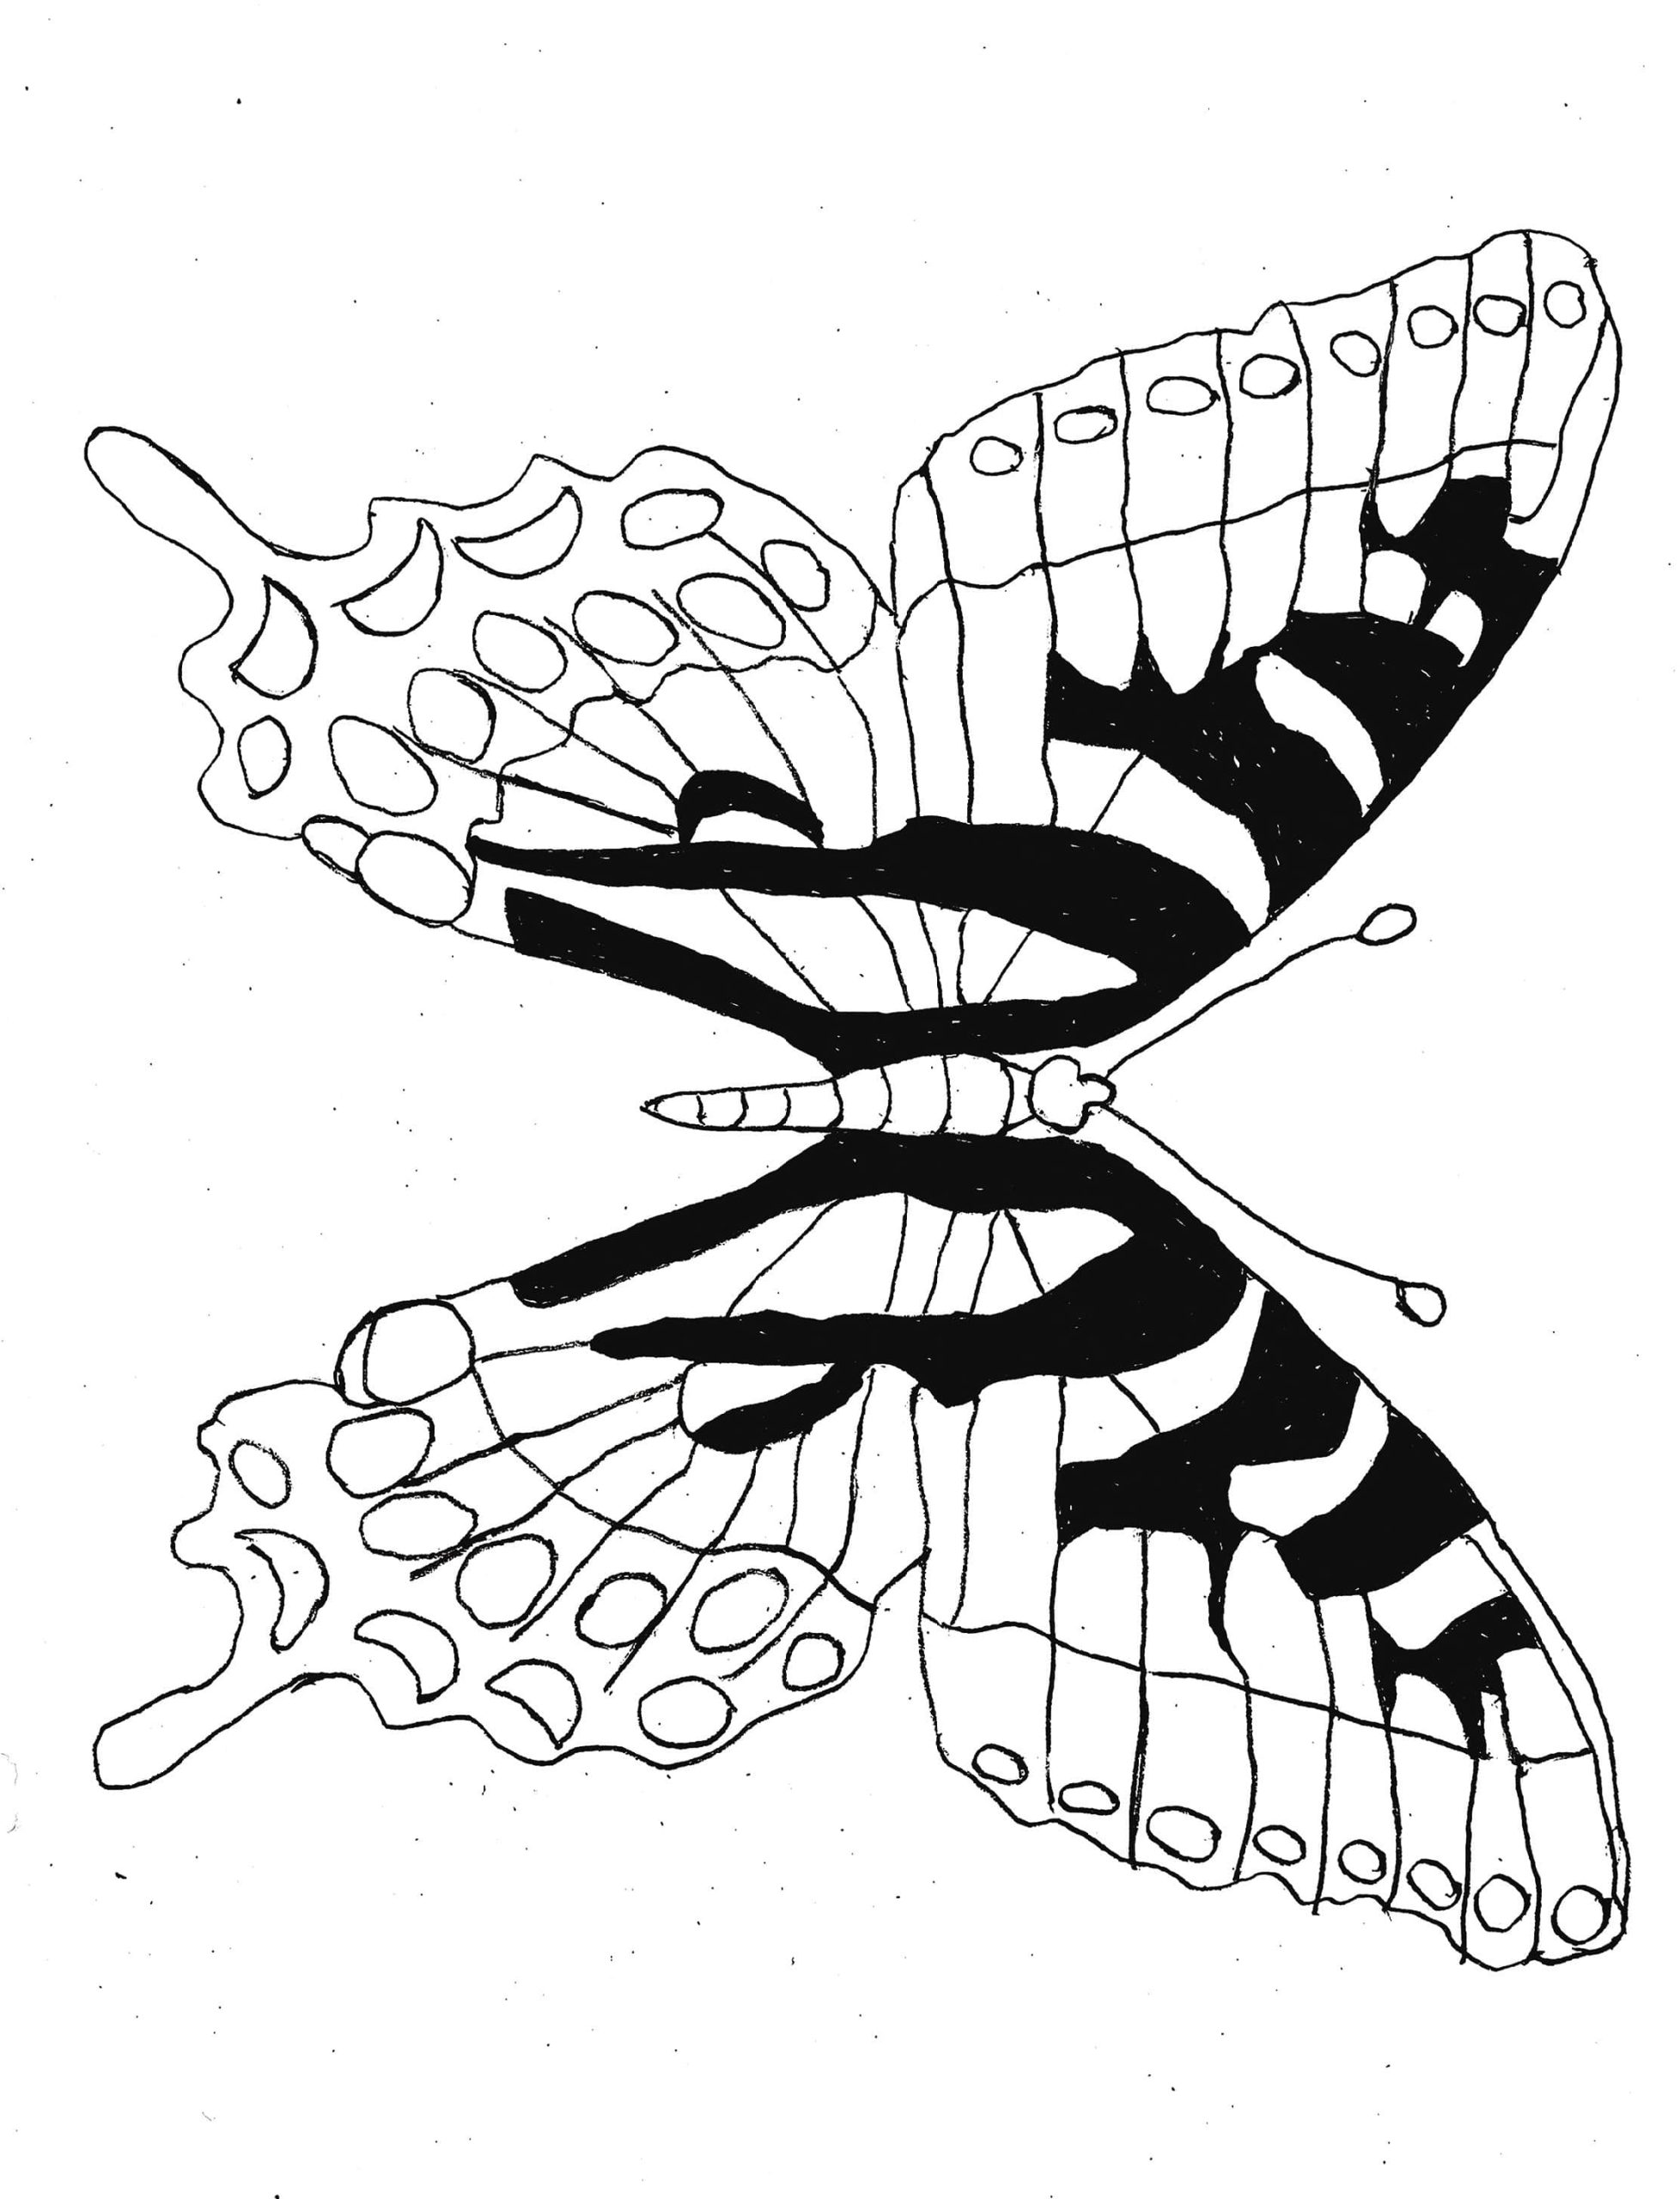
Iridescent Butterfly,
10″ x 8″, #2- and #3 cut wool on rug warp. Designed and hooked by John L. Leonard, Wilmington, North Carolina, 2021.
For a long time, I have searched for iridescent dyes or paints that could be used to create iridescent effects in hooked rugs. I have longed to create iridescent effects for butterflies, birds, jewels, and fish.
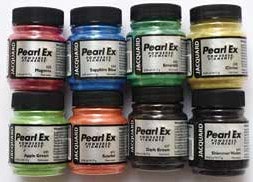
| DHARMA TRADING CO. | |
Pearl Ex Pigments are available in these colors:
|
 |
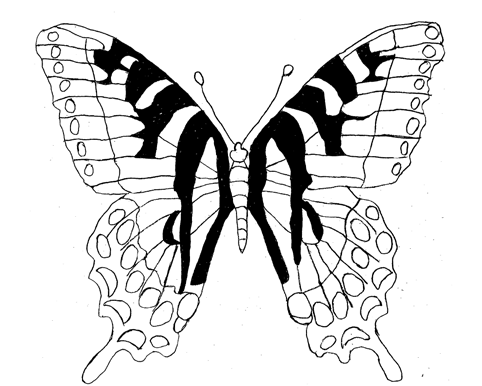
Scroll below for a full-size, printable pattern
HOOKING THE BUTTERFLY

I hooked my butterfly on cotton rug warp using a variety of mostly #3-cut and some #2-cut wools. Two 6mm black beads were used for eyes.
I created the antennae by first hooking the tips of the antennae in the green background with black wool. For each antenna, I tied a knot in the end of a piece of black bamboo cord and used a tapestry needle to bring the cord up from the underside of the rug warp to emerge at the base of one antenna tip. The needle was then inserted just in front of the eyes to emerge through the back of the rug. I left enough cord to tie with the cord from the other antenna.
GOING IRIDESCENT: APPLYING PEARL EX
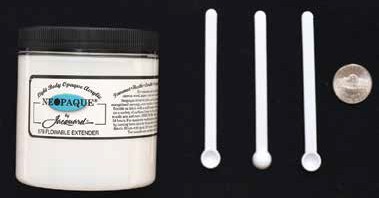
Dharma Trading Co. suggested mixing 4 tablespoons of the extender with 1 tablespoon of water. Then, mix in as much Pearl Ex pigment as desired. I reduced the proportions of the extender and water because I only planned to use small amounts. I used a mixture of 3/4 teaspoon of extender, 1/16 teaspoon of water (3 drops), and 1 mini-scoop of Pearl Ex. I used toothpicks to mix the amounts of extender, water, and Pearl Ex in 1-ounce disposable medicine cups.
Using a small paint brush with 1/8-inch-wide bristles, I applied the Pearl Ex. The amounts of extender, water, and Pearl Ex that I used for each area are:
Beads
- 1/4 teaspoon Jacquard Neopaque 579 Flowable Extender
- 1/16 teaspoon water (3 drops)
- 1/2 mini-scoop Pearl Ex Shimmer Violet and 1/2 mini-scoop Pearl Ex Sapphire Blue
Blue areas
- 1/4 teaspoon Jacquard Neopaque 579 Flowable Extender
- 1/16 teaspoon water (3 drops)
- 1 mini-scoop Pearl Ex Sapphire Blue
Red areas
- 1/4 teaspoon Jacquard Neopaque 579 Flowable Extender
- 1/16 teaspoon water (3 drops)
- 1 mini-scoop Pearl Ex Magenta
Yellow areas
- 1/4 teaspoon Jacquard Neopaque
- 579 Flowable Extender
- 1/16 teaspoon water (3 drops)
- 1 mini-scoop Pearl Ex CitrineI tried using Jacquard Textile
100 Colorless Extender instead of Jacquard Neopaque 579 Flowable Extender, but this extender produced only a faint amount of iridescence.
DURABILITY OF PEARL EX PIGMENTS
I was most pleasantly surprised how the fine mica particles of Pearl Ex produced such beautiful iridescence. Also, I was amazed at how realistically the beads became eyes when painted with the violet and blue combination.
I experimented with a mixture of 1/4 teaspoon of extender, 1/16 teaspoon of water (3 drops), and 1 mini-scoop of Pearl Ex. to see how well it would adhere to wool.
Here is what I learned. Several techniques are recommended for maximal adhesion of Pearl Ex to wool:
- wet the wool by first soaking it in water
- then squeeze out as much water as possible before applying Pearl Ex
- usea stiff brush to scrub the Pearl Ex into the wool
- iron after application
Even though these techniques seemed to help adhesion, I decided to use Pearl Ex only for wool rugs that would be hung on the wall.
Applying Pearl Ex using, or not using, these techniques, for a rug that will be used on the floor might be a fun project. If the rug is placed in an area of little traffic, there would be little abrasion of the Pearl Ex. If the Pearl Ex wears off, more could be applied. (Also, the rug would probably look great even without the Pearl Ex.)
FRAMING THE BUTTERFLY, STEP BY STEP |
|
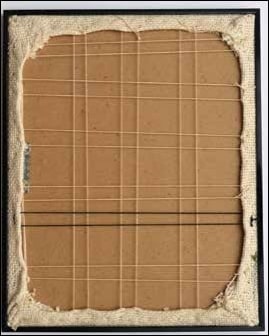 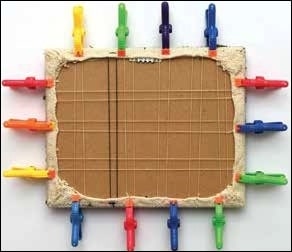 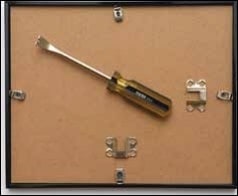 I used an 8″ x 10″ frame with a narrow black border. I discarded the glass piece. I used an 8″ x 10″ frame with a narrow black border. I discarded the glass piece.
|
|
Iridescent Butterfly
Final rug approximately 10” x 8”
Click Here to Download Your Printable How to Make an Iridescent Butterfly Now
I’m a beginner, hoping to enjoy this new craft.
That’s wonderful! Welcome to our community.
not able to log in
Hello! If you are still having trouble logging in, please email kdanko@amprycp.com. Thank you!
I was unable to download. the link listed above in the comments (chrome-extension://efaidnbmnnnibpcajpcglclefindmkaj/https://welikerughooking.com/wp-content/uploads/2024/10/How-to-Make-an-Iridescent-Butterfly-1.pdf)
, shows link “blocked” by chrome. Now what?
You may have a setting enabled in your browser that is blocking the link. If you have an ad blocker, try disabling it temporarily to see if that helps.
Not able to download. Send download to Seanest46@gmail.com
Hello! Try following this link: chrome-extension://efaidnbmnnnibpcajpcglclefindmkaj/https://welikerughooking.com/wp-content/uploads/2024/10/How-to-Make-an-Iridescent-Butterfly-1.pdf. On the top-right side of the page, there is a button you can click to “Download this file.” I hope that helps!
Do you sell kits for rugs? I used to do lots of rugs years ago Redicut was popular at the time I didn’t think anyone did them anymore Thankyou for the butterfly
Hello! Thank you for your message. Unfortunately, we do not sell rug kits at this time. I’m glad you are enjoying the butterfly! -Editors of We Like Rug Hooking