
 Give a Gift

Tree Toppers Ozzy Osbourne, Dolly Parton, and Prince designed and hooked by Lesley McLean.
As the Queen song goes, “I’m having such a good time, I’m having a ball!” And that’s the fun and enjoyment I feel making my music-legend gingerbread men tree toppers.
I took up punch needle because I wanted something to keep me from scrolling on my phone through the long winter evenings.
I couldn’t concentrate on knitting—I kept losing track—and any attempts at crochet resulted in woolly worms. Punch needle was coming through as a trend, so I thought I’d try it. I started with a small kit and some YouTube videos. By my second attempt, I was running away with my own designs and am now addicted to it. Now I sell my work and take commissions, including these little guys, who are incredibly popular for Christmas.
I started with Bowie, my hero, just for fun, then went on to make, among others, Elton John, Ozzy Osbourne, Dolly Parton, Tina Turner, and Prince. They’re all punch needle on the front, stuffed, backed with felt, and have a loop to fix them at the top of a Christmas tree.
Ready to make your own?
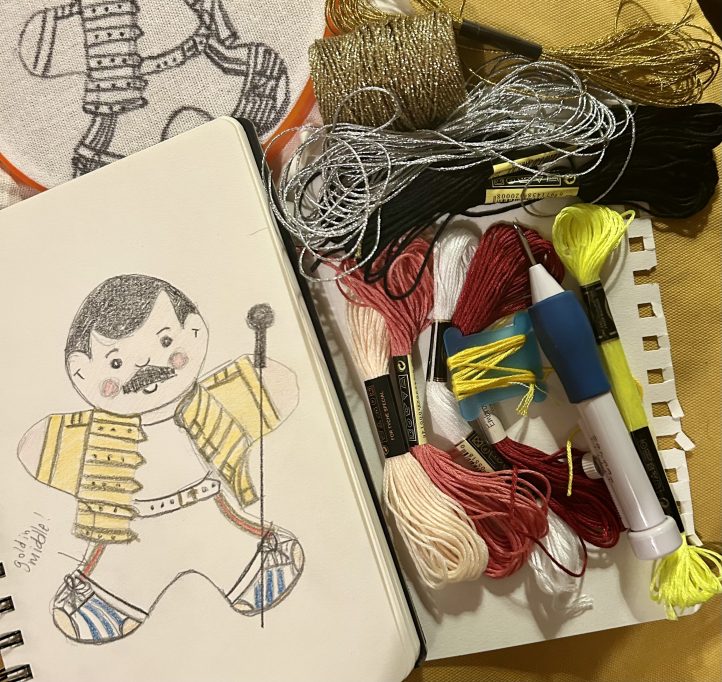
Materials
- Cardboard gingerbread man template or cookie cutter to create your own
- Paper
- Sharpie
- Scissors
- Masking tape
- Screwdriver
- Embroidery threads and accessories
- Needle
- Rico Punch Needle Tool & Threader
- Embroidery hoop
- Felt
- Stuffing
- Linen needlework fabric
Creating the Design
- Start with a gingerbread man template and work up your design from there. The characters must be distinctive and fit that shape. To create your own template, trace around a gingerbread man cookie cutter on a piece of cardboard. Cut out your shape and you’re ready to begin your project.
- Next, use your cardboard template and trace it onto a piece of paper. Choose your musical hero and draw on the details. Here, I’ve selected Freddie Mercury. Go over the outline in Sharpie when you’re happy with it.
Getting the Design onto Fabric
- I either fix the design to my window with masking tape or use my light box to trace the design onto the fabric. I edge my fabric with masking tape to stop it from fraying.

- Then I fix my fabric in the hoop. It’s a good idea to tighten the screw, if it has one, and pull the fabric tight around the outside. I give the screw a final tighten using a screwdriver to make it nice and secure.
Punching the Design
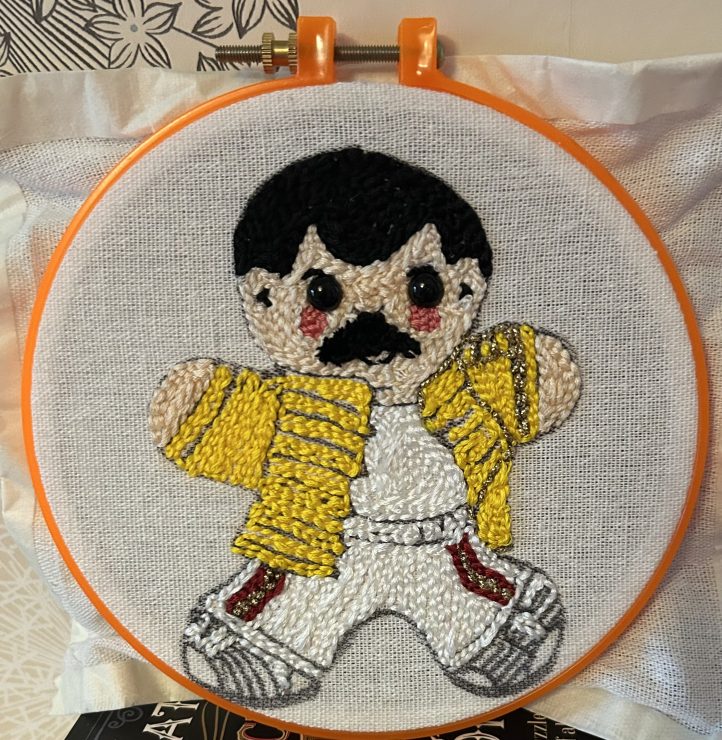
- Using photos for reference, I choose my thread colors. I thread my punch needle with my first color, usually starting with a skin tone. I use the flat side for details such as skin and costume fabric, so I have my needle on a low setting.
- I usually find it’s best to start punching from the outside. Holding the needle like a pencil, I punch it through the linen as far as the fabric allows.
- I make sure the thread tail is on the underside of my hoop. Then I pull the needle out all the way, leaving the thread through the cloth, being careful not to lift the needle too high. I punch through again 2–3 mm away and continue doing this, following my design. With every stitch, a loop is formed on the back side of the fabric. No knots are needed, as the thread is held in place by the tension.
- I keep filling the design. As I change colors, I repeat the steps above, starting over again. I’m careful to leave a row of space if there is a detailed line to do, such as the edges of Freddie’s jacket. I also leave little circles of space if I’m adding plastic eyes.
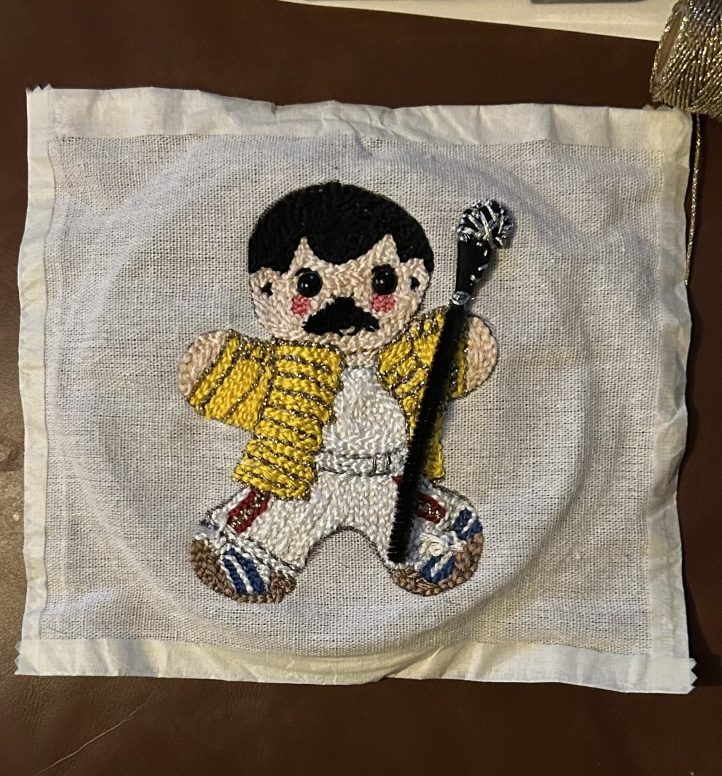
- If I’m adding texture to costumes, I turn the hoop around and work from the other side so that the loops are on top, with the rest of the flat design giving a nice 3D effect. I use varying heights on my adjustable needle depending on the effect I want, and then either leave them as loops or trim them to make fringing.
Finishing Up
- I sew on any accessories, such as buttons, or attach eyes. I also sometimes add details using a darning needle and embroidery thread if it’s not possible to do them with punch needle.
- Next, I cut the linen around the outside of the design. About 1–2 cm is usually fine.
- I also cut some felt around the gingerbread template, again about 1 cm or so larger than the punch needle design. This makes it easier to sew together and stuff. I also cut a piece of felt that will be sewn onto the width of the back of the legend, big enough so it can be looped over the top of a Christmas tree. You could swap this for a hanging loop if you wanted them as ornaments instead.
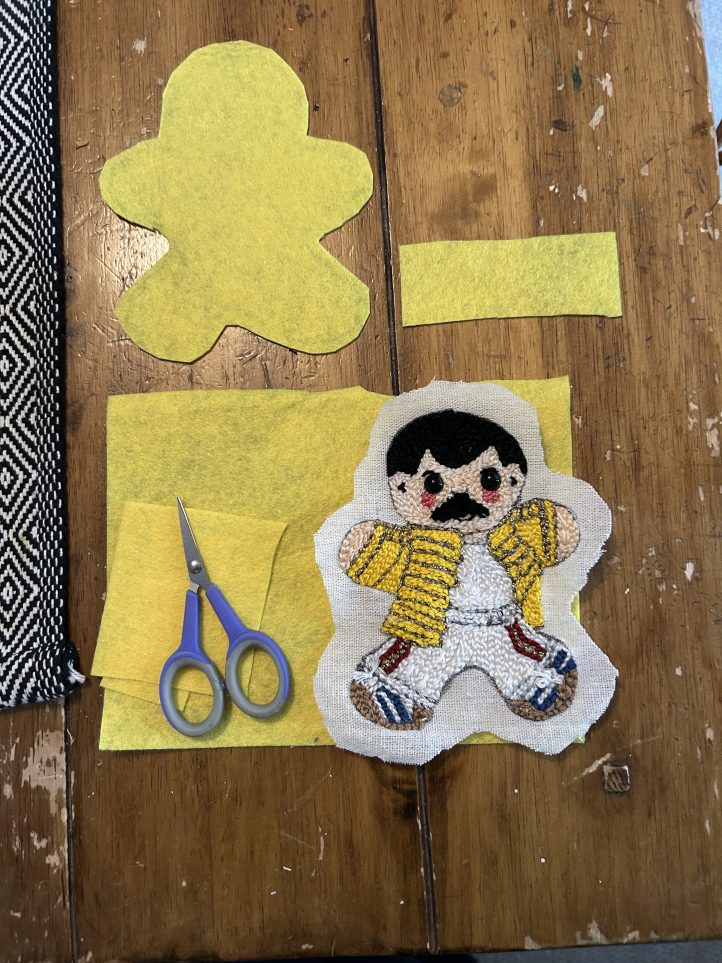
- The next step is to snip the spare linen at key points around the legend to let me tuck the linen behind the legend, making a clean edge all the way around. I sew the band onto the felt, set the legend on what will be the inside of the felt, and pin it together, ready to sew up.

- I like to whipstitch my figure all the way around. Using the same color thread for each section, I work around it, leaving enough space at the top to push the stuffing in before sewing that last section up. To get the stuffing down into the arms and legs, I carefully push it in with a pencil or bamboo rod.
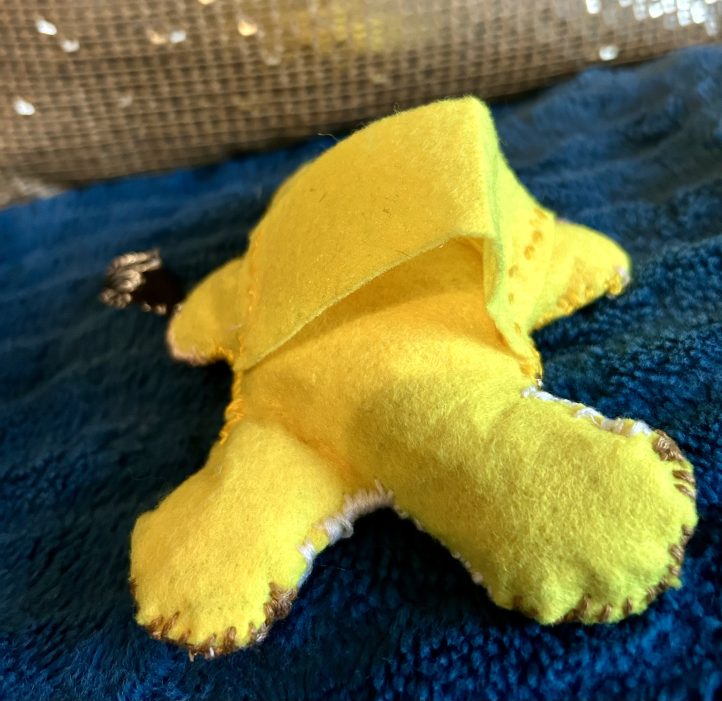
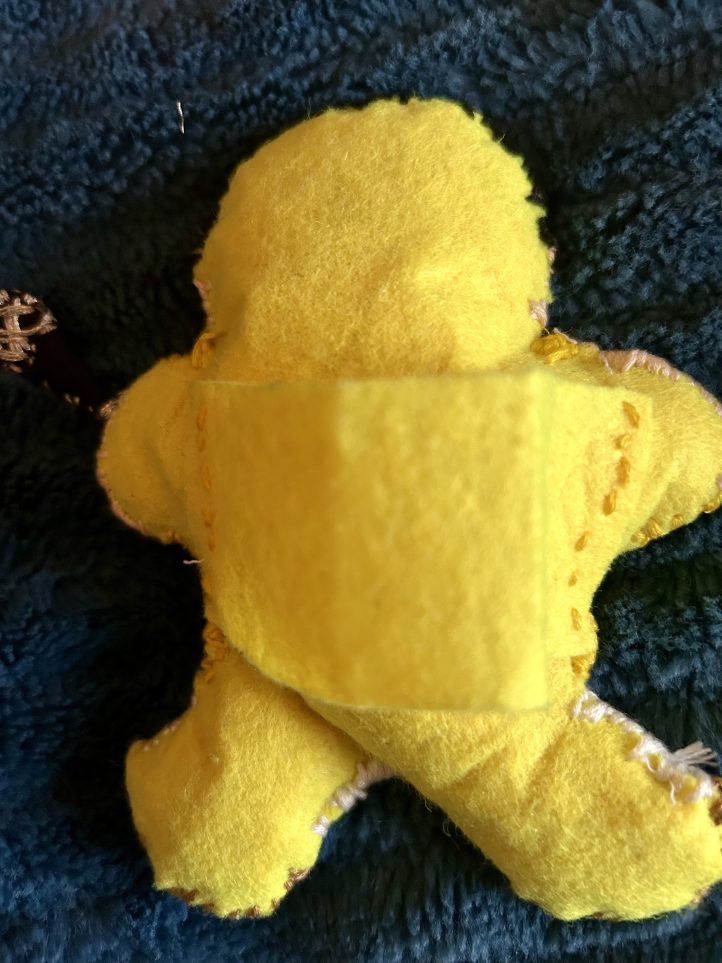
- And that’s the legend ready to hang on the tree. I do add extra hair to some legends at this point, felting wool onto them to give a particular hairstyle depending on whom I’m making.

My next legend will be Amy Winehouse. If you’d like to see progress on her and other projects I make, you can find me on Instagram @lmclea2.

Lesley’s creations from left to right: Ozzy Osborne, Freddie Mercury, David Bowie, Dolly Parton, Prince, and Tina Turner.
I’d love to see if you have a go. Just tag me on Insta. Happy punching!